
Last updated November 21, 2026
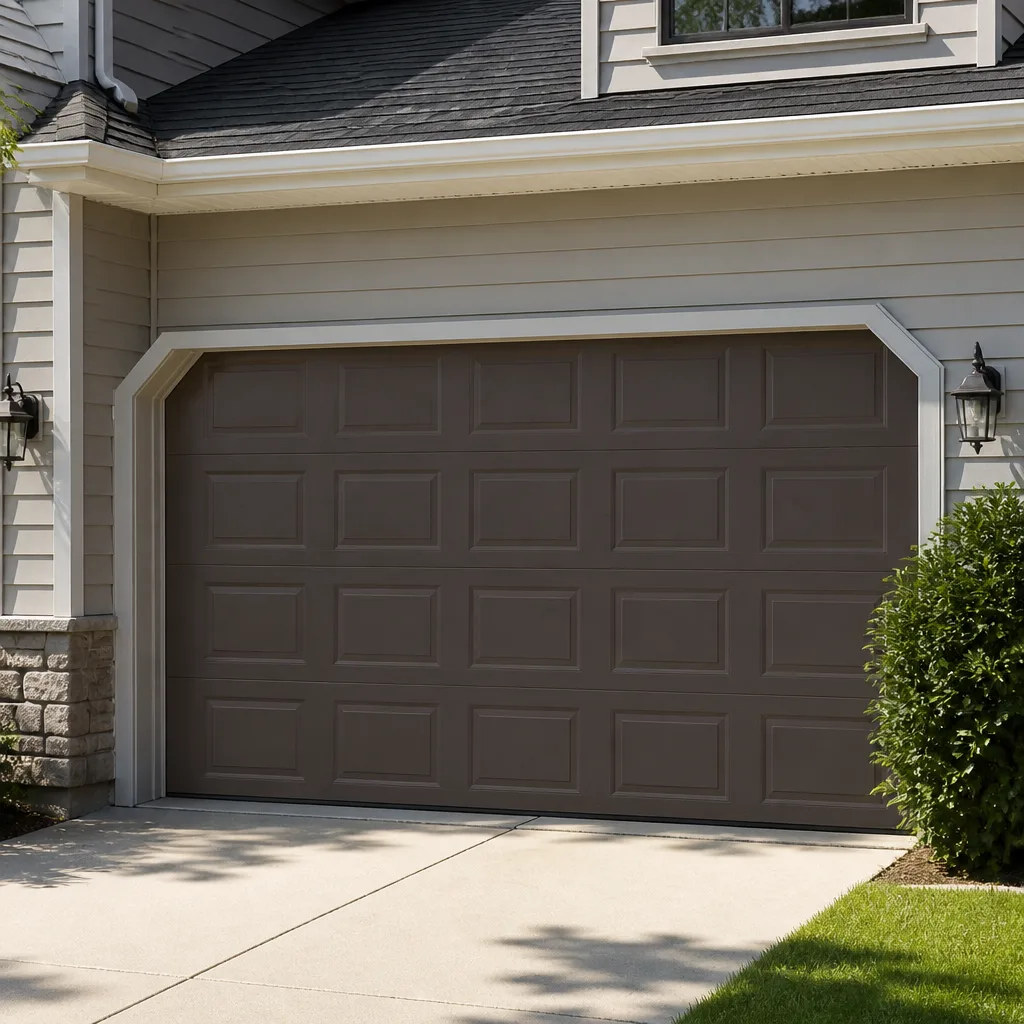 Raised-panel steel
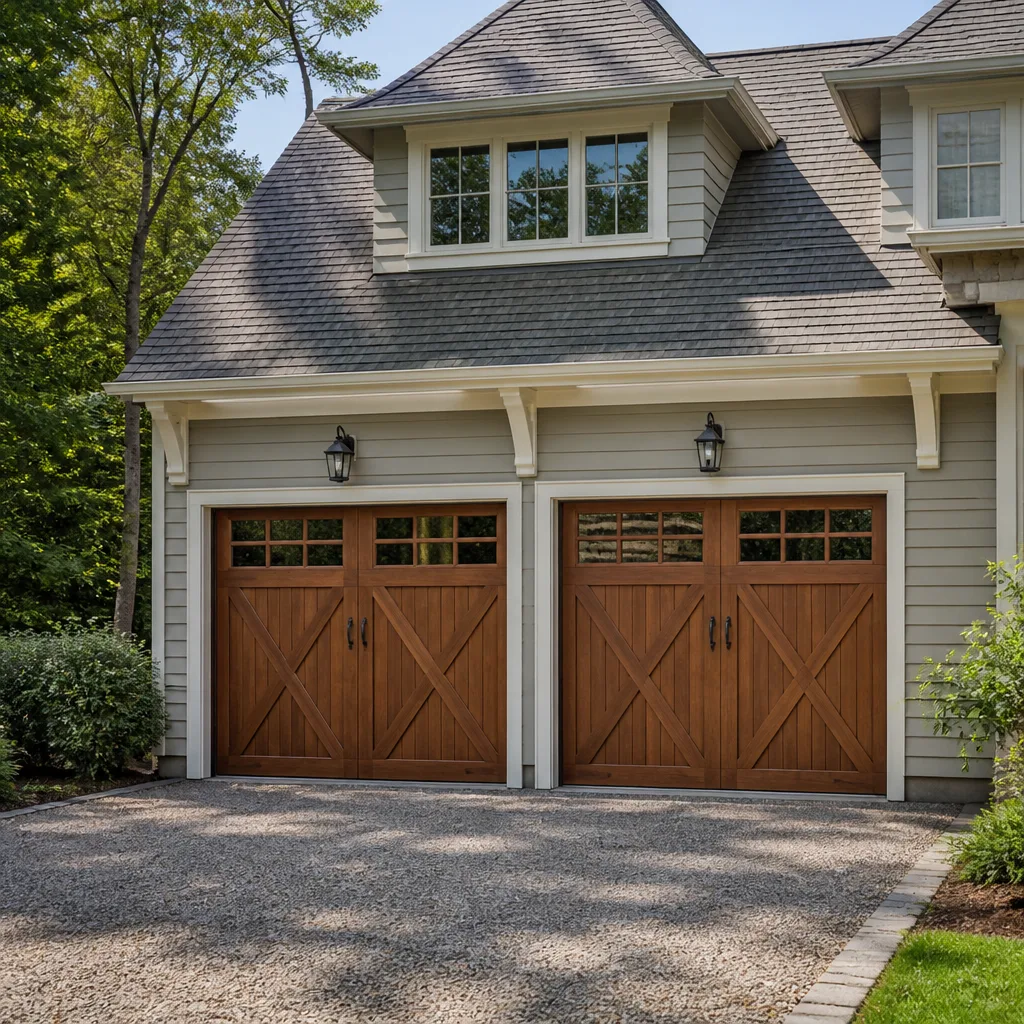 Carriage house
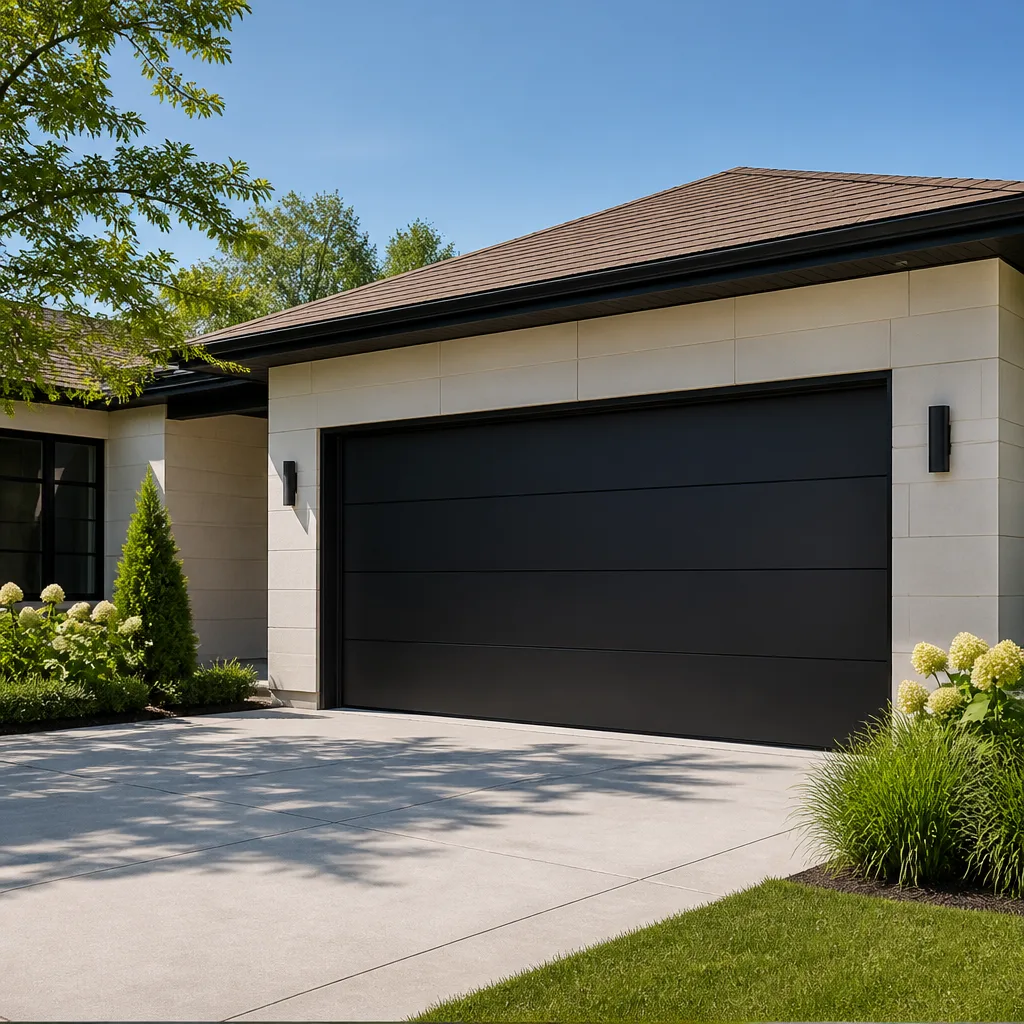 Modern flush
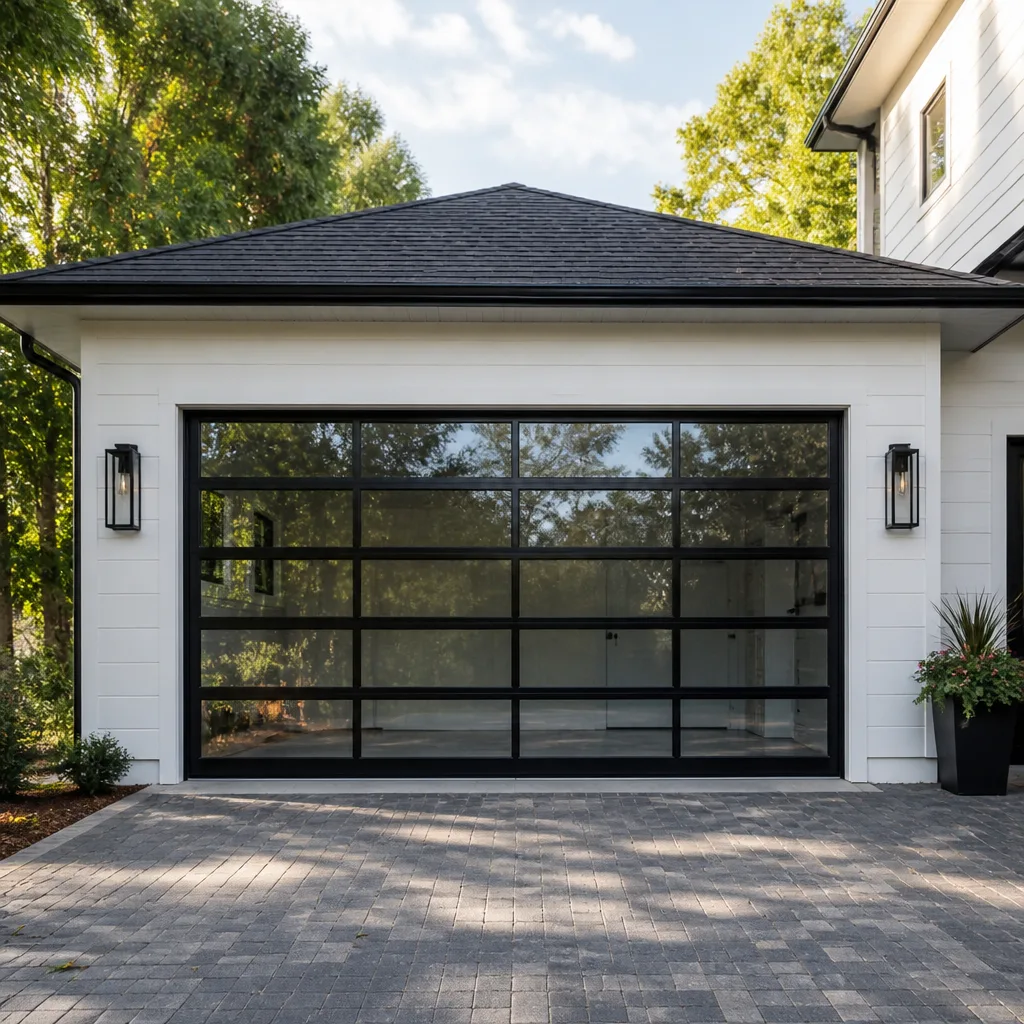 Full-view glass
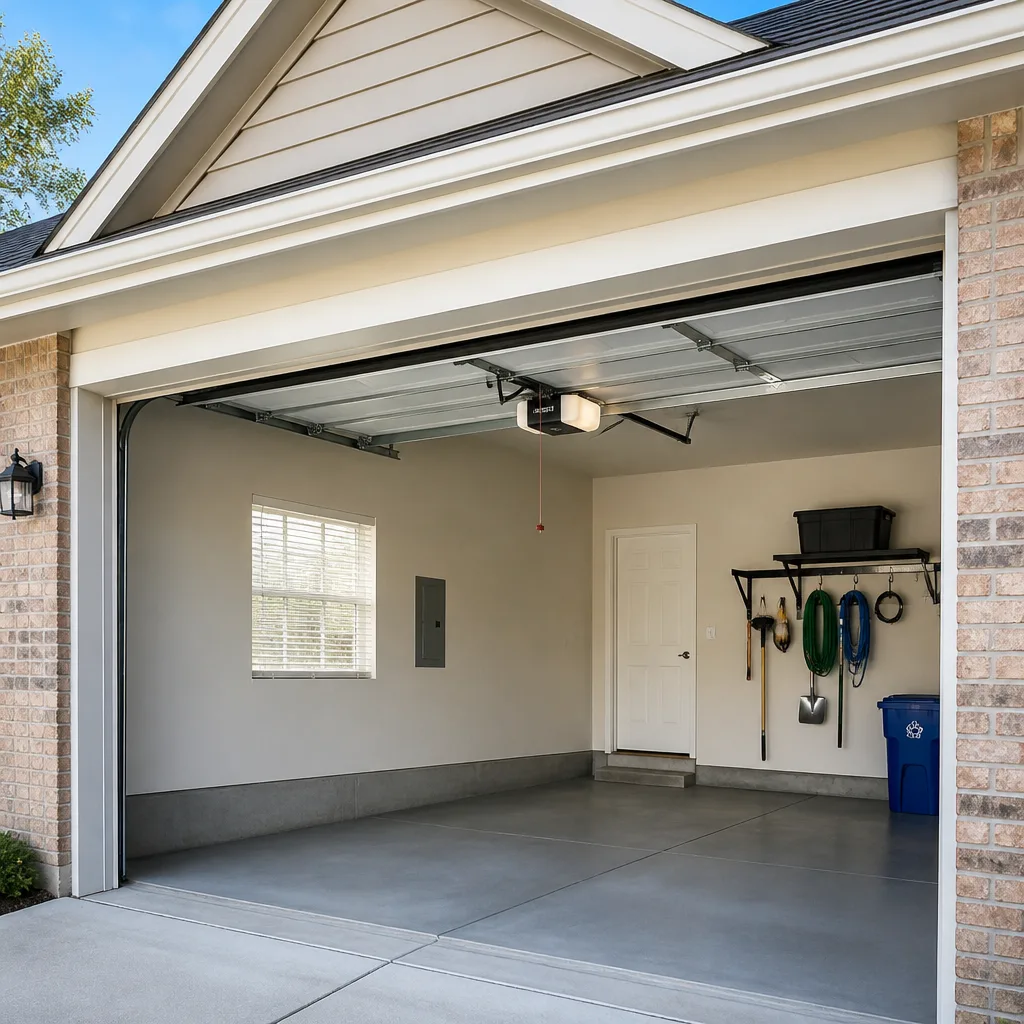 LiftMaster openers
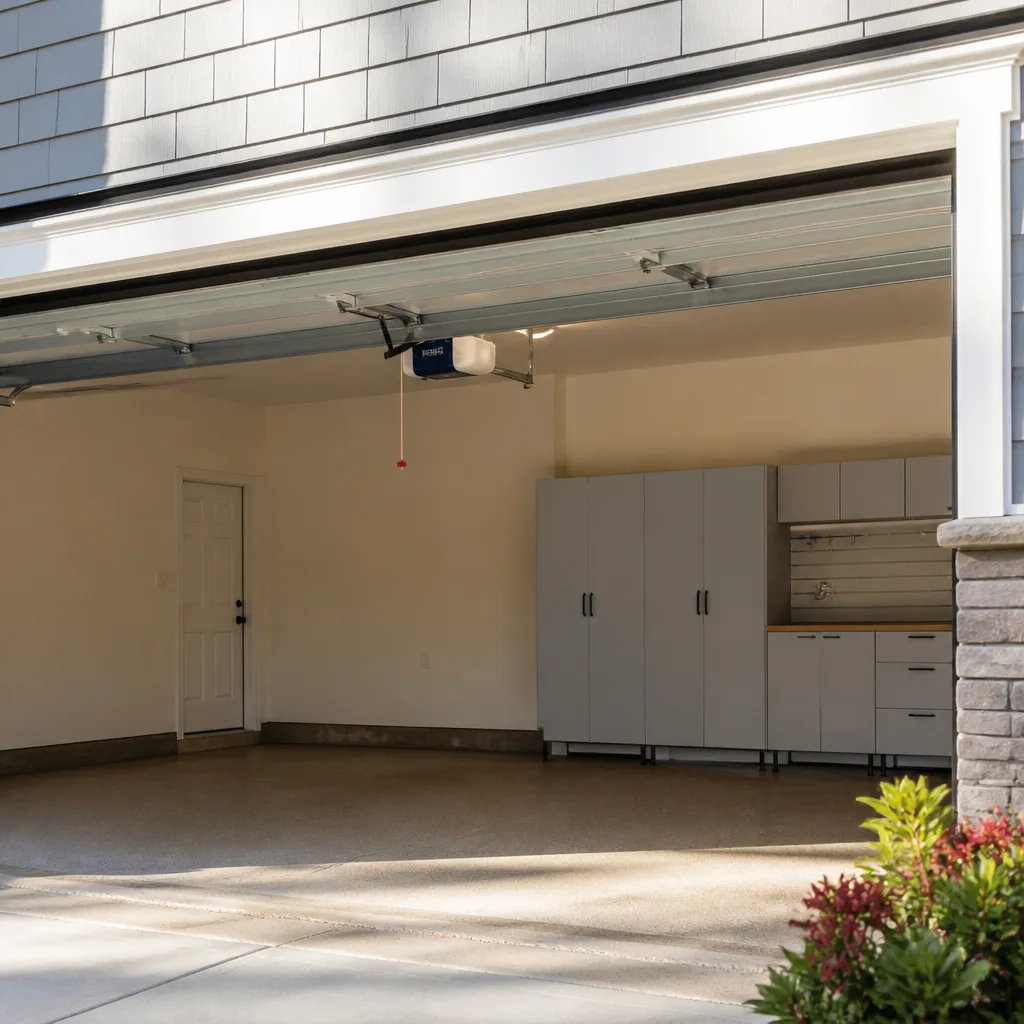 Chamberlain openers
Full 25-point door and opener safety check with every visit - springs, cables, rollers, tracks, and your LiftMaster or Chamberlain opener included
You get a price before we start. It does not change when the pro arrives.
Get your free estimateGarage Door Repair Maintenance Checklist for Port Saint Lucie Homeowners
The most urgent call we get after a storm usually isn’t about storm damage at all. It’s about a torsion spring or a cable that was already most of the way worn out and finally let go when the door had to work a little harder than usual. A 15-minute quarterly check would have caught the wear weeks earlier. That’s the counterintuitive part about living in Port Saint Lucie: your garage door doesn’t fail because of one dramatic event. It fails because heat and humidity quietly age the moving parts faster than most national maintenance guides assume. This guide gives you a real checklist, organized by quarter, half-year, and year, built for the conditions your door actually lives in.
Styles & brands we work with
- Raised-panel steel
- Carriage house
- Modern flush
- Full-view glass
- LiftMaster openers
- Chamberlain openers
Quick Answer
A Port Saint Lucie garage door needs a short safety and hardware check every quarter, a deeper lubrication and balance test twice a year, and one full professional inspection annually. Because of year-round heat and humidity, springs, cables, and seals on a Florida door often wear on a six-month clock that would take two years somewhere dry and cool. Testing the door’s balance and reversing safety feature monthly is the single most important habit.
Table of Contents
- Why a Port Saint Lucie Checklist Is Different From a Generic One
- The Monthly Two-Minute Safety Check
- Quarterly Checklist: What to Look At Every Three Months
- Biannual Checklist: Lubrication and Balance
- Annual Checklist: The Deep Inspection
- Reading the Wear on Springs and Cables
- Testing Your Bottom Seal Against Heavy Rain
- Pre-Hurricane-Season Garage Door Checklist
- Common Mistakes to Avoid
- When to Call a Professional
- Frequently Asked Questions
- The Bottom Line
Why a Port Saint Lucie Checklist Is Different From a Generic One
Most garage door maintenance advice floating around online was written for a four-season climate. It tells you to check for frost damage in winter and to worry about parts freezing. None of that applies to a garage door in Port Saint Lucie, where the door might cycle through thousands of open-and-close movements under steady warm, humid air without ever seeing a hard freeze. That changes what you watch and when you watch it.
The two forces that age a door here are heat and humidity, and they don’t take a winter off. Heat softens and degrades lubricant faster, so the grease that should still be doing its job in month six has often thinned and migrated off the moving surfaces. Humidity works on the steel parts, especially the torsion spring and the cables, encouraging rust. Combined, that means a component that a northern maintenance schedule would revisit once a year may need eyes on it every three to six months in Port Saint Lucie.
Your door also works harder in a different way. Garages in Port Saint Lucie often sit under strong afternoon sun, and a door facing west absorbs hours of heat that a shaded or milder-climate door never sees. Heat causes metal to expand and the panels and hinges to shift slightly, which is one reason a door that ran quietly in cooler months can start to rattle as the year goes on.
None of this means your door is fragile. It means the calendar on the checklist should match the climate. The quarterly, biannual, and annual cadence in this guide is built around that reality, not around a generic national template.
The Monthly Two-Minute Safety Check
Once a month, before you do anything else, test the two safety systems that protect people and property. This takes about two minutes and catches the failures that matter most. Do this with the door in view, standing clear of the path.
- Test the balance. Close the door, then pull the manual release to disconnect the opener. Lift the door halfway by hand and let go. A properly balanced door stays put. One that drops on its own, or flies up, has a spring or cable problem and needs professional attention before you reconnect the opener.
- Test the reversing feature. With the opener reconnected, lay a roll of paper towels or a piece of wood flat on the floor in the door’s path. Close the door. It should reverse the moment it meets the object. If it presses down and keeps going, stop using the door and get it serviced.
- Test the photo-eye sensors. Wave an object through the invisible beam near the floor on each side while the door is closing. The door should reverse. Wipe the sensor lenses with a soft cloth, because dust and pollen settle on them here.
- Listen. Run the door up and down once and pay attention to the sound. A steady hum is normal. Grinding, squealing, or a pop that wasn’t there last month is an early warning.
If any of these tests fail, don’t cycle the door repeatedly trying to sort it out. That’s the point where a trained technician should look at it. For anything involving a spring, cable, or opener that won’t reverse, our garage door repair team can diagnose it and tell you honestly what it needs.
Quarterly Checklist: What to Look At Every Three Months
Every three months, walk around your door with a flashlight and check the parts that heat and humidity wear down quietly. This is the cadence that catches a problem while it’s cheap to fix.
- Check the torsion spring for rust. Look closely at the coils. In Port Saint Lucie, rust on a spring often starts earlier than people expect. See the section below for what each stage looks like.
- Inspect the cables. Look for frayed strands, kinks, or rust along the length. A cable with broken strands is close to failing and should be replaced.
- Check the hinges and rollers. Look for looseness, wear, and rust at the joints. Wobbly hinges put extra strain on the panels.
- Look at the weather seal and bottom seal. Check for cracks, hardening, or a gap against the floor.
- Inspect the tracks. Look for dents, debris, or spots where the door seems to drag.
- Check the wall brackets and bolts. Confirm nothing has worked loose.
- Clear the tracks and the floor area. Sweep out grit and any leaves or dirt that find their way in.
One advantage of a specialist is that these checks turn up small issues while they’re still small. We work on systems from Wayne Dalton, LiftMaster, and Craftsmith all the time, and the wear patterns don’t lie. If the quarterly look-over turns up something, you can decide then whether to book a visit. If you’re already hearing the garage opener struggle or grind, our garage door opener repair team handles that separately from the door hardware itself.
Biannual Checklist: Lubrication and Balance
Twice a year, go deeper: lubricate the moving parts and re-test the door’s balance and travel. This is where you slow down the wear that heat and humidity accelerate.
What to lubricate
The choice of lubricant matters more here than a generic guide admits, because high heat and humidity make some products break down fast. Here’s what works and where:
- Silicone spray is the right pick for the torsion spring, the hinges, and the roller bearings. It doesn’t attract dust the way heavier grease does, and it holds up in heat. Apply a light coat, not a soaking.
- White lithium grease works well on the opener’s rail or screw drive and on the metal pivot points where you want a longer-lasting film. It tends to hold on a little longer than a thin oil in a warm, humid garage, which is why we lean on it for those surfaces.
- Avoid heavy automotive grease and generic oil on the tracks and springs. They attract grit, which then grinds against the moving parts.
- Never lubricate the tracks. The door’s rollers should roll clean. Greasy tracks collect dust and make the door drag.
Balance and travel test
Repeat the balance test from the monthly check, then watch the door’s open limit. It should open fully and stop evenly, not overshoot or stop short. If your opener was set for a lighter load in cooler weather and now seems to work harder, that’s worth a look. We service LiftMaster and Craftsman openers regularly and can adjust the force and limits without guessing.
Annual Checklist: The Deep Inspection
Once a year, do or book a full inspection that covers the whole system end to end. This is the checklist that catches the slow failures before they strand your car.
- Inspect the spring and cable system as a whole. Look at how the spring sits on the torsion bar, whether the winding cones show wear, and whether the cables are evenly tensioned. This is the part that most deserves a trained eye.
- Check every roller and hinge. Replace any roller that binds or shows flat spots. Worn rollers strain the opener.
- Look at the panel alignment. Run the door slowly and watch for panels that seem to fight each other or tilt beyond their hinges. Heat expansion can reveal a hinge or bracket issue.
- Inspect the bottom seal and the frame stops. Replace hardened rubber before the rainy season.
- Open the opener housing. Check the drive gear, the belt or chain tension, and the battery backup if fitted. Look for loose wiring.
- Test the manual release. Make sure the cord and handle work freely and the door can be operated by hand.
- Verify the door operates at its rated balance. A door that needs the opener to do the heavy lifting is a door that’s about to wear out its opener.
This annual pass is also your chance to decide whether a repair still makes sense or whether the door is nearing the end of its useful life. If you’re weighing that, our garage door installation page walks through how to think about replacement.
Reading the Wear on Springs and Cables
Springs and cables are the parts most likely to fail first, and most homeowners only think about them when something breaks. You can spot wear early with your eyes, if you know what each stage looks like. Here’s how to read it, using plain visual cues that don’t depend on a photo.
Torsion spring: three stages of rust
- Stage 1 (early). The coils still look mostly clean steel, but you’ll see a light orange-brown blush or small speckles starting on the coils. It wipes away with a cloth. This is early; a light cleaning and a protective silicone spray slows it down.
- Stage 2 (advancing). The rust is now a darker, more uniform brown, and it doesn’t wipe off. The coils begin to look pitted or roughened. The door may start to sound slightly louder or feel less smooth. This is the point to have a technician assess how much life is left.
- Stage 3 (near failure). Flaking rust, deep pitting, or the coil visibly thinning in places. If you see flaking or a coil that looks stretched or distorted, treat it as urgent and stop using the door heavily until it’s checked.
Cables
Good cables are silver and smooth with no broken strands. Early wear shows as a single stray strand poking out. Advancing wear shows several broken strands, a frayed “fuzz” along a short stretch, or a kink that won’t straighten. Any of these means the cable should be replaced. Cables work under tension and hold that stored energy. Don’t try to grease, cut, or adjust them yourself. That’s a job for a trained professional with the right tools.
Safety note: Torsion springs, extension springs, and the cables attached to them are under extreme tension and can cause serious injury if handled without the right tools and knowledge. Never attempt to wind, unwind, or replace a spring on your own. Visual checks from a safe distance are the right level of involvement for a homeowner. Everything else belongs to a trained technician. Spring repair is one of our core services for exactly this reason – it’s the most common and most dangerous garage door failure.
Testing Your Bottom Seal Against Heavy Rain
A garage door seal in Port Saint Lucie does two jobs, not one. The obvious job is keeping the weather out. The one people forget is keeping water out during the heavy rain that arrives with the summer storm season. A seal that looks fine on a dry day can let water pour across your garage floor when the rain comes down hard, which then reaches whatever you store along that wall.
How to test the seal specifically for rain
- The paper test. Close the door on a sheet of paper placed at several points along the seal, then try to pull the paper out. If it slides out easily with no resistance anywhere along the bottom, the seal has a gap and rain can get under it.
- The running-water test. On a dry day, run a garden hose lightly against the outside of the door near the floor for a minute or two. Watch the inside. Beads of water appearing inside means the seal isn’t making contact where it matters.
- The pressure-point test. Look for a continuous even line of contact between the rubber and the floor. A dull, uneven line means the seal is lifting at points.
- Check the side and top seals too. Rain driven sideways by wind can find gaps along the vertical edges as much as the bottom.
- Look at the rubber itself. Seals harden and crack over time, especially in heat. A seal that feels rigid or shows cracks along its fold is done, even if it looks fine from a distance.
Replacing a cracked bottom seal is one of the cheaper maintenance wins and one of the most useful in a rainy climate. If the door itself is older and the seals keep failing, that may be a sign to look at replacement. You can read more about your options in our guide to Port Saint Lucie Garage Door Repair.
Pre-Hurricane-Season Garage Door Checklist
As hurricane season approaches, a garage door check goes beyond the basics. The goal is to make sure the door is as strong and as operative as it can be before a storm, and that you know how to work it if the power fails. Here’s the deeper checklist.
- Load test the door’s balance and hinges. Before storm season, confirm the door operates smoothly by hand and that the hinges and brackets are tight. A door that’s already strained has less margin when wind pressure builds.
- Verify the manual release. With the opener disconnected, make sure the door can be lifted and lowered by hand from inside. In a power outage, that manual release is how you get in or out. Test it now, not during a storm.
- Check the door for panel alignment and any loose hardware. Tighten anything that’s worked loose over the year. Loose brackets are the first thing that go under load.
- Look at the door’s braces and struts. If the door has horizontal reinforcement struts, confirm they’re secured. These add strength during high winds.
- Inspect your operator’s battery backup. If your opener has one, replace the battery now so the door still works if power goes out.
- Test the reversing and sensor features again. Confirm everything works before the season, so you’re not discovering a fault mid-storm.
- Clear the track and the floor area. Make sure nothing obstructs the door’s path and the tracks have no debris that could jam the door.
If any item on this list turns up a problem, fix it before the season. This is the right time for a professional assessment of anything you’re unsure about. Raynor and LiftMaster systems in particular benefit from a load test that a trained technician can do accurately.
Common Mistakes to Avoid
- Skipping the monthly reversing test. A door that stops reversing can crush an object or a person, and the failure often happens without warning. Two minutes a month prevents it.
- Lubricating the tracks. Grease on the tracks traps dust and grit, which then grinds the rollers and makes the door heavier to lift. Leave the tracks clean.
- Using the wrong lubricant. Heavy automotive grease attracts dirt and hardens, and a thin oil may evaporate off the surface in the heat. Match the product to the part.
- Ignoring early spring rust. Stage 1 rust is easy to slow down. Stage 3 is a failure waiting to happen, and it can take the door with it. Check the coils quarterly.
- Adjusting the opener’s force to mask a harder-to-lift door. If the door suddenly needs more force, something on the door is wearing out. Turning up the opener masks the symptom and strains the motor.
- Treating the bottom seal as optional. In a rainy climate, a cracked bottom seal lets water into the garage and lets it spread. Replace it when it hardens.
- Attempting a DIY spring or cable repair. Beyond being difficult, it’s genuinely dangerous. The stored energy in those parts can cause serious injury. Leave it to a trained technician.
When to Call a Professional
Some tasks on this checklist are yours to do. Others belong to a trained technician. Call a professional if you notice any of these:
The door won’t stay balanced when you lift it by hand. The springs show stage 2 or stage 3 rust. A cable is frayed, kinked, or looks stretched. The door won’t reverse on the safety test. The opener grinds, struggles, or needs more force than it used to. A panel is out of alignment or a hinge has pulled loose.
Spring, cable, and opener issues in particular are best handled by a specialist. Port Saint Lucie Garage Door Repair offers free estimates in Port Saint Lucie – call (855) 337-1068. We answer 24/7. Fast dispatch from 7am to 7pm, Sunday through Friday. Our technicians have up to 13 years of experience, and we service LiftMaster, Chamberlain, Genie, Clopay, Amarr, Wayne Dalton, Craftsman, and Raynor systems. The price is quoted and agreed before any work starts, so there are no surprises on the invoice.
Frequently Asked Questions
A Port Saint Lucie garage door should get a short safety and hardware check every quarter, lubrication and a balance test twice a year, and a full professional inspection once a year. Because heat and humidity wear parts faster here than in a drier climate, sticking to the quarterly checks matters more than in colder regions. Call (855) 337-1068 to book a service visit – estimates are free.
A garage door spring is nearing failure when you see flaking rust, deep pitting, or visibly thinning coils on the spring itself. Earlier stages show as a light orange blush that wipes off, then a darker brown that doesn’t. If the door also feels heavier or sounds louder, have it checked. Call (855) 337-1068 for a trained assessment before it fails.
Silicone spray is the best general choice for springs, hinges, and roller bearings in a hot, humid climate, while white lithium grease holds up well on the opener rail and metal pivot points. Avoid heavy grease and generic oil on the tracks. If you’re not sure what your system needs, call (855) 337-1068 and we’ll tell you.
Yes, a garage door that won’t reverse is a safety problem and should be repaired as soon as possible because it can crush an object or injure someone. Stop using the door until it’s fixed. We answer 24/7 at (855) 337-1068, with fast dispatch from 7am to 7pm, Sunday through Friday.
For most repair calls in Port Saint Lucie, same-day service is available, and we’ll confirm timing when you call. We answer 24/7. A call outside dispatch hours is booked into the next opening, Sunday through Friday, 7am to 7pm. Call (855) 337-1068 to get on the schedule.
No. We quote and agree the price before any work starts, and the written estimate sets the final price. If we find something that needs attention, we’ll explain it and get your approval before doing it. Call (855) 337-1068 for a free estimate.
The Bottom Line
A garage door in Port Saint Lucie needs a maintenance cadence that matches its climate, not a generic national schedule. Test the balance and reversing safety feature every month. Do the deeper hardware and seal checks quarterly. Lubricate with the right products and re-check balance twice a year. Book a full inspection annually, and run the pre-hurricane-season checklist before storms arrive. Most door failures are slow ones you could see coming with a flashlight and fifteen minutes. And when something does need a professional, Port Saint Lucie Garage Door Repair is ready to help. Call (855) 337-1068 for a free estimate.
Written by the team at Port Saint Lucie Garage Door Repair.
See the difference
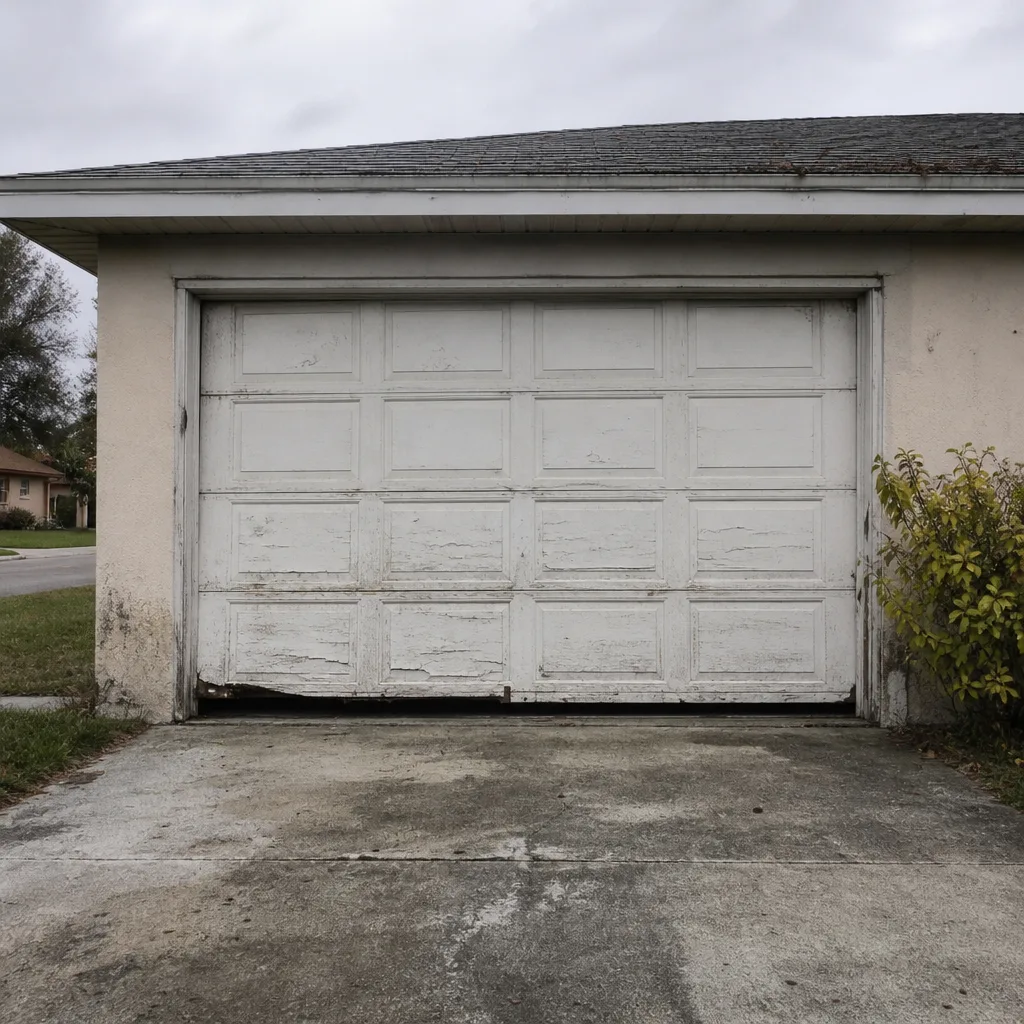 Before
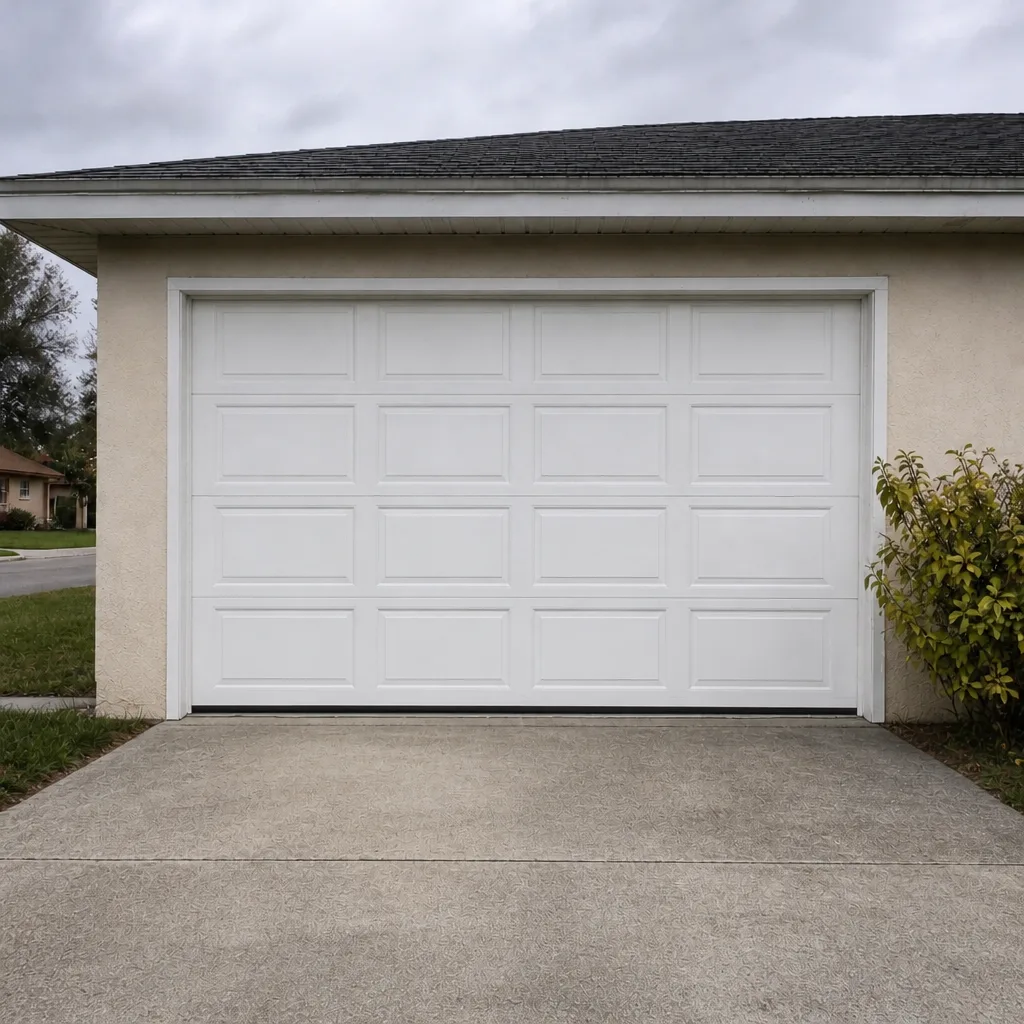 After
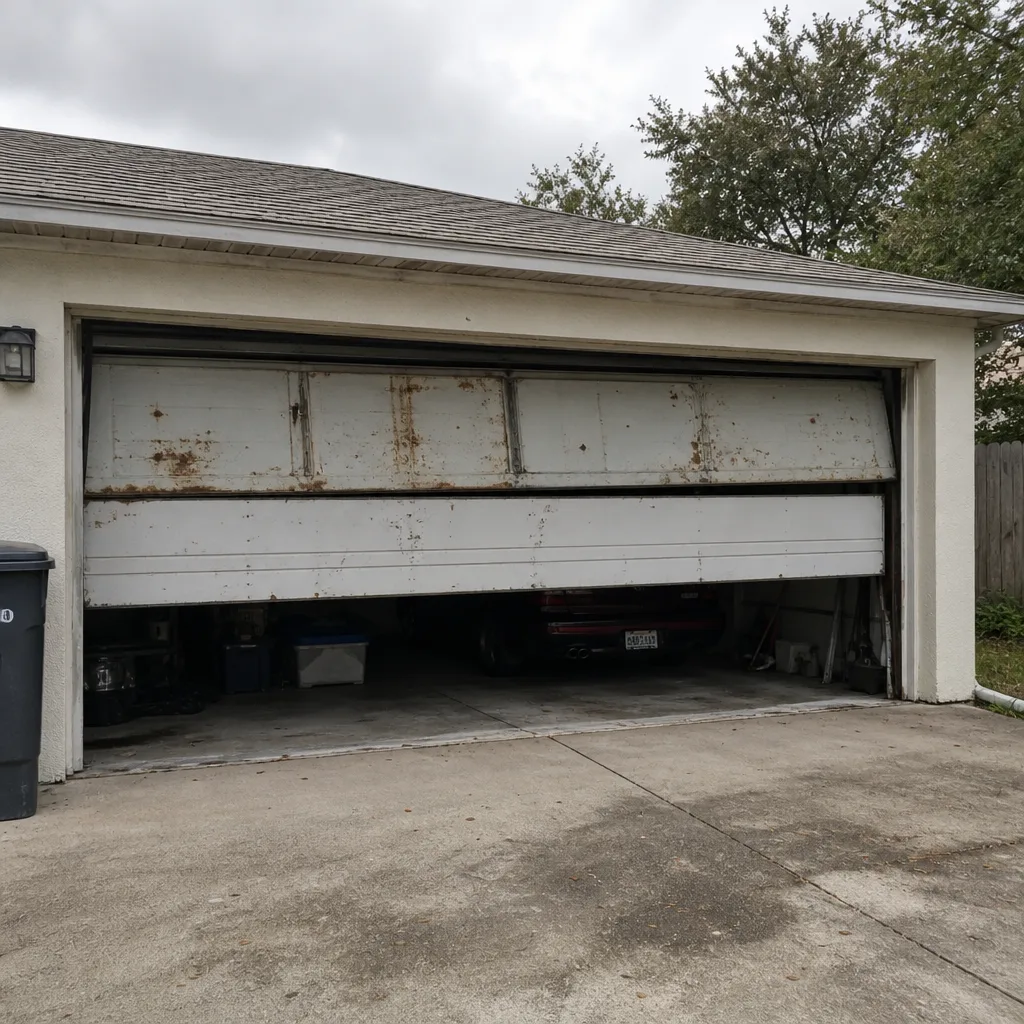 Before
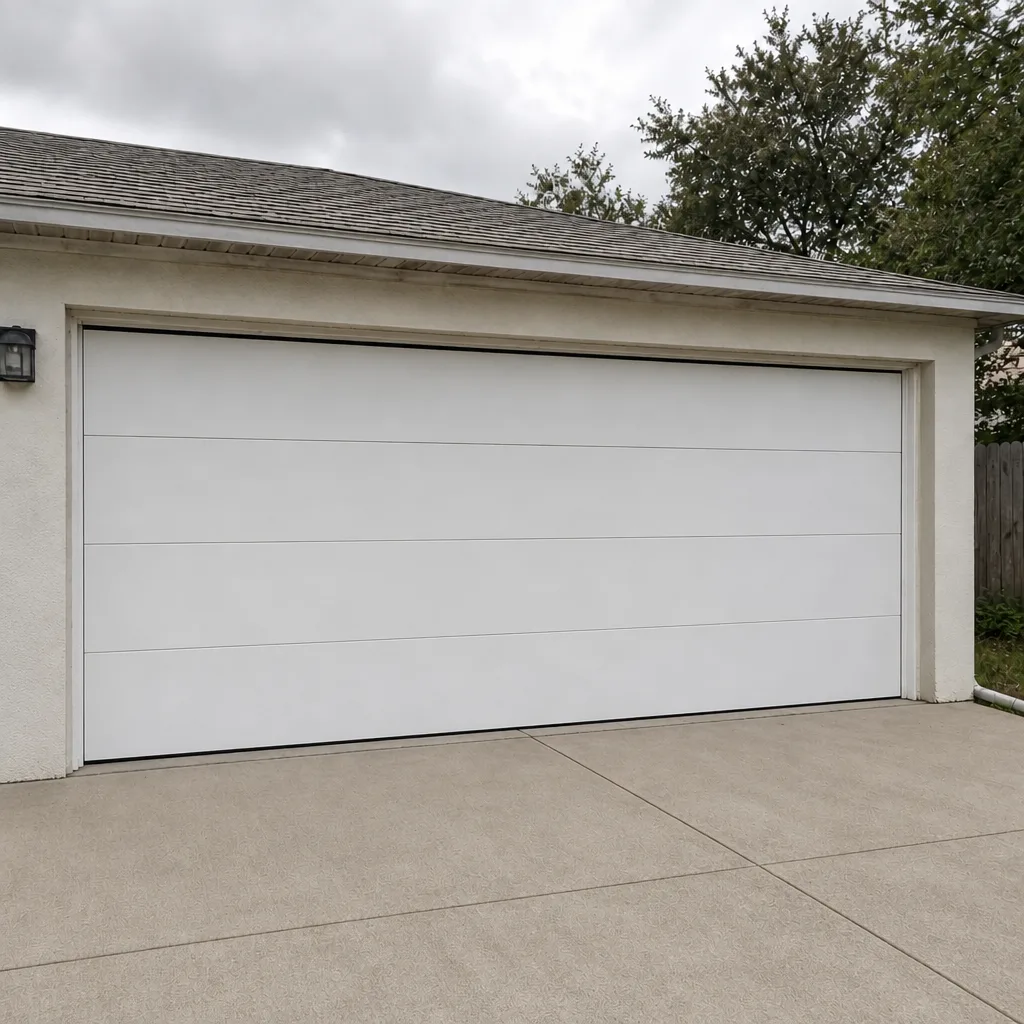 After
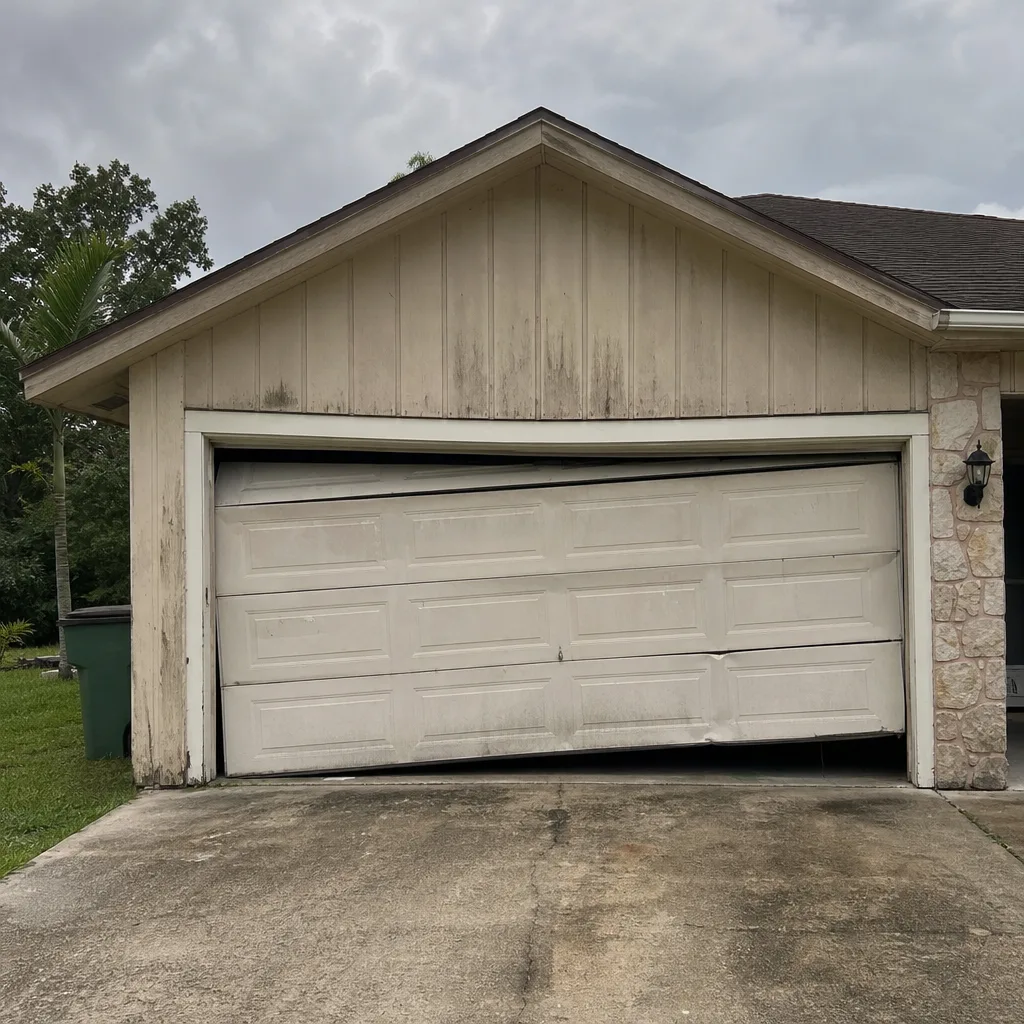 Before
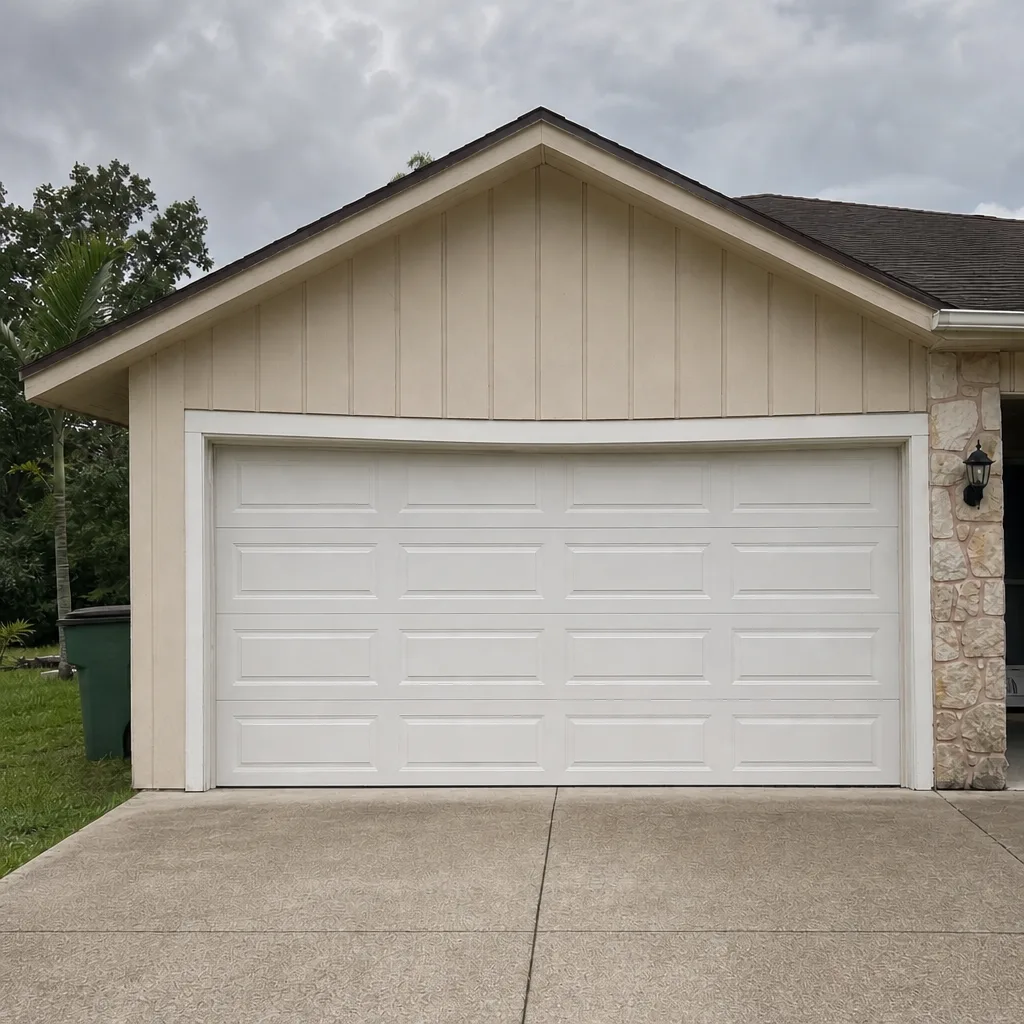 After